Compost tea brewers can help you deliver insane amounts of biology to your soil, bringing life to your garden. This means more blooming flowers, more nutrient-dense produce, and healthier soils.
It doesn’t have to kill your bank account either.
Compost tea is ridiculously economical; most people who have a small garden or grow space will need only small amounts of compost tea to treat their plants and soils.
We’re going to give you basics of compost tea brewers and detailed instructions on how to make your own 50-gallon brewer. You will also learn about other types of brewers and suppliers of commercial compost tea brewers.

In case you missed it…
The Urban Worm Company’s “soil nerd” Troy Hinke wrote a great introduction to the concept of compost tea, getting you up to speed on what these liquids are all about.
What You Need to Make a Compost Tea Brewer
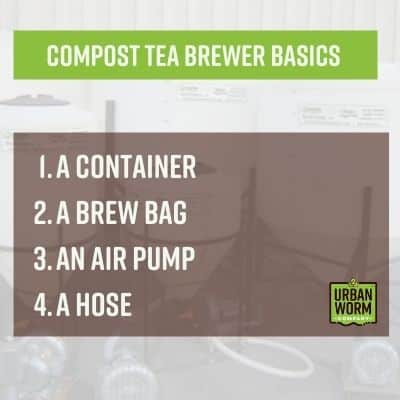
A compost tea brewer requires 4 things:
- a container
- a brew bag
- an air pump
- hose to deliver the air
That’s pretty much it. A simple brewer is cheaper and easy to clean.
No one wants to be cleaning brew equipment when there is compost tea ready to be applied to plants. However, if you clean your equipment directly after emptying the brewer, it will take much less time.
Read on for how to source these items!
DIY Compost Brewers: Brewing On A Budget
In this post, we described how you can make a small-scale tea brewer on a budget using a 5-gallon bucket, a five gallon elastic-top paint strainer bag, and an aquarium pump.
It’s simple, inexpensive, and you don’t need a lot of worm castings or compost to make a good bit of tea.
But let’s assume you have more area to cover and need a beefier solution.
You can make your own 50-gallon compost tea brewer for around $125-$150. The brewer consists of the following:
- a 55 gallon plastic food-grade barrel
- 8 feet of 1/2-inch PVC
- two 1/2-inch cross pieces
- 8 to 10 feet of 3/8-inch braided hose
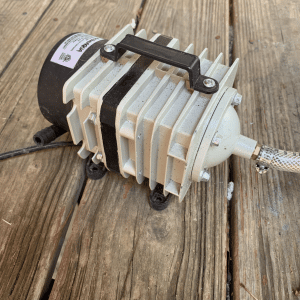
- a 60-liter-per-minute air pump
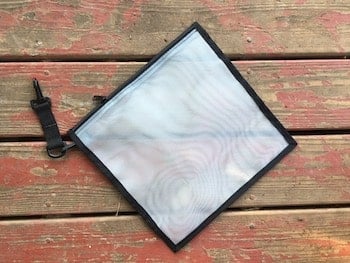
- a brew bag
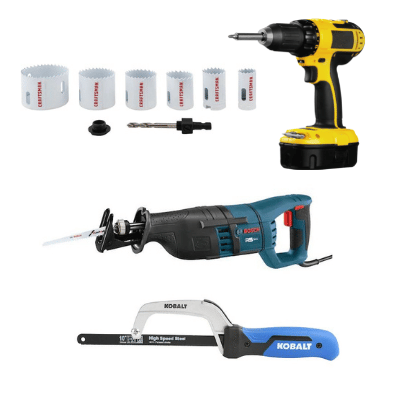
For tools, you’ll want the following:
- a reciprocating saw
- a handheld PVC saw or cutters
- a drill
- a 1 3/8-in hole saw
This isn’t gonna break the bank.
Where to Find Inexpensive Brewer Components
Craigslist is a great place to find plastic 55-gallon food-grade barrels.
You can also check any nearby food manufacturing facilities for barrels as well. Organic lawn or landscape supply stores may also have empty plastic barrels.
Just make sure they were not used for chemicals in their past life!
They should cost between $10-$25 a piece if you can’t find them for free. These barrels are generally destined for the waste stream, so don’t get ripped off.
An air pump (60 liter per minute output) can be purchased online or at a local hydroponic or aquarium supply store. At $40-50, this is your greatest expense. This size of air pump is compatible with a 3/8 inch braided air hose..
Air hoses can be purchased online or at the same stores where you will find air pumps.
The 8 feet length of 1/2 inch PVC will be cut up into sections and used to place the open end of the air hose at the bottom of the brewer. This will also keep it steady within the brewer. Two 1/2-inch PVC cross pieces will connect the vertical and horizontal sections.
Now we need a brew bag. My favorite brew bags come from Earthfort.
They have a small, long-lasting polyester brew bag intended for making 10-60 gallons at a cost of $31.50 plus shipping.
Assembling Your Home-Built Compost Tea Brewer
Cutting the Barrel
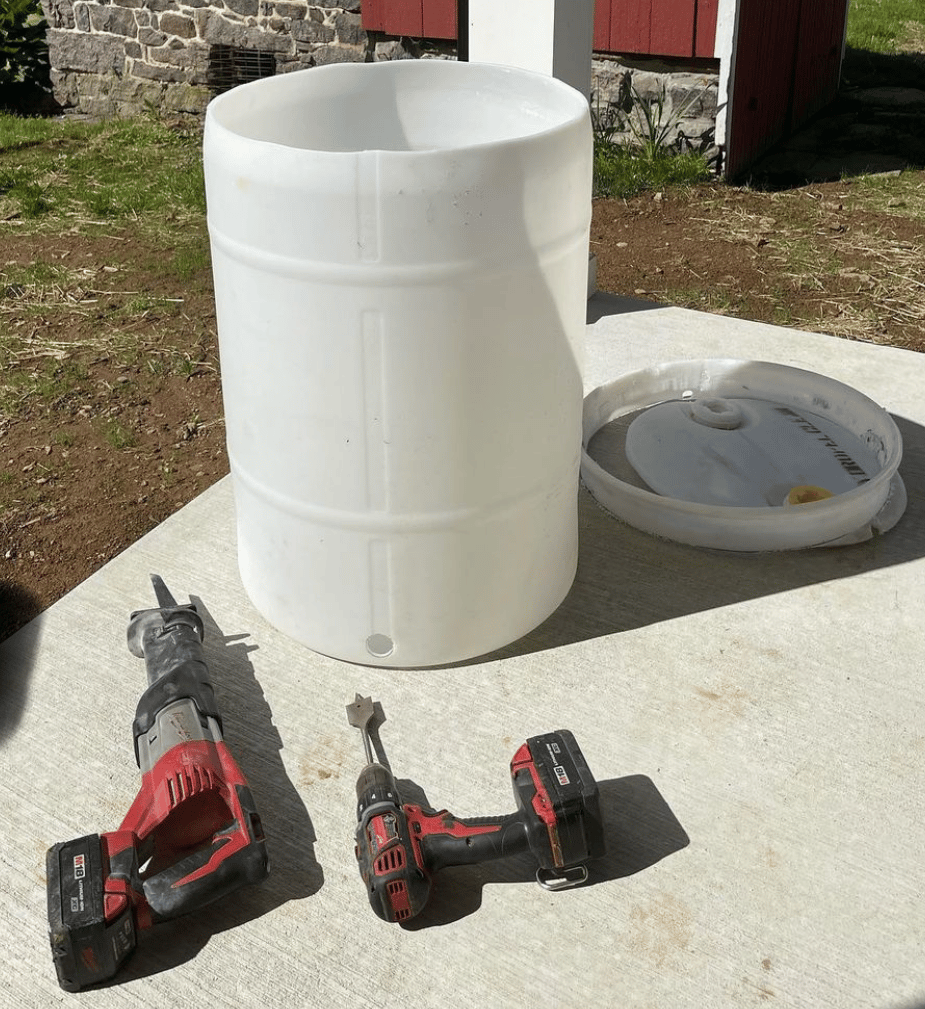
You’re gonna need easy access to the top of your compost tea brewer barrel, so the first step is to cut off the top of it using a reciprocating saw.
This is the most difficult step in the entire process!
Cut the top off as evenly and as level as possible just under the rim. After removing the top, sand the rim to remove any sharp edges and bits of plastic. Clean the barrel with some soap and water.
Cutting & Assembling the PVC
Now it’s time to cut the PVC. Now, you may be under the impression that the PVC is what delivers the air. But it’s only there to house the 3/8-in hose that gets routed to the bottom of the tank.
You will cut your 8-foot length of PVC into seven pieces: three for the vertical section and four for the horizontal supports. The barrel should measure around three feet tall so the three vertical pieces can be cut to around 12 inches in length.
This is an inexact science; I like my vertical pipe to stick up a bit above the brewer so I cut the bottom two at 11 inches and the top piece at 16 inches.
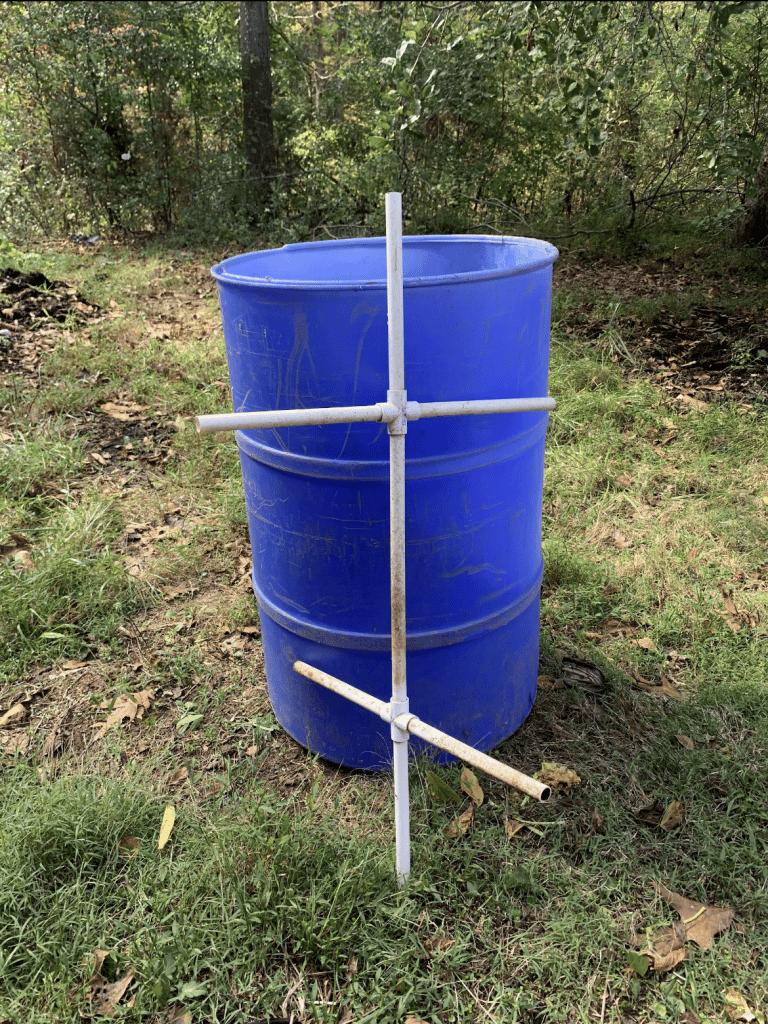
The horizontal cross pieces will need to be measured and cut to your specific barrel size. Both horizontal and vertical pieces will be connected by crosses in the center so take the added length from these connectors into account.
Assuming a 55-gallon barrel, I cut the horizontal pieces on my brewer to about 11 inches in length. It’s good to have these sections butted up against the walls of the brewer to keep the air hose in place at the center bottom.
After cutting the lengths of PVC you can assemble them into a cross-like structure with two different crosses, one at the top third of the brewer and one at the bottom third. I like to position these horizontal pieces so they are pointing perpendicular to each other.
If looking down from above the top section would be positioned at the equivalent of 12-6 on a clock, while the bottom section is placed at the 3-9 position.
This will hold the PVC unit more steadily in place inside the brewer.
Routing the Air & Hanging the Bag
Place the PVC structure inside the barrel. The 3/8 inch hose will fit perfectly inside of the interior of the upright PVC length. Once you turn on the air pump with the 3/8 inch air hose connected, you can feed the hose down through the PVC until you hit the bottom of the barrel. The PVC frame also serves as a convenient hanging spot for your tea brewing bag.
You can hang the bag on the lower cross for brews of 25 gallons or less and on the upper cross for anything above 25 gallons.
Once you’ve got the PVC assembled ,all you need is about 1 gallon (16 cups) of high-biology compost or vermicompost in your brew bag. Add some microbial foods like soluble kelp and you’re ready to go.
Fill the barrel with water (consider letting it off gas chlorine for 24 hours), hang your compost tea bag, add some microbe food like liquid kelp, start the pump, and and let it brew for 24 hours or more!
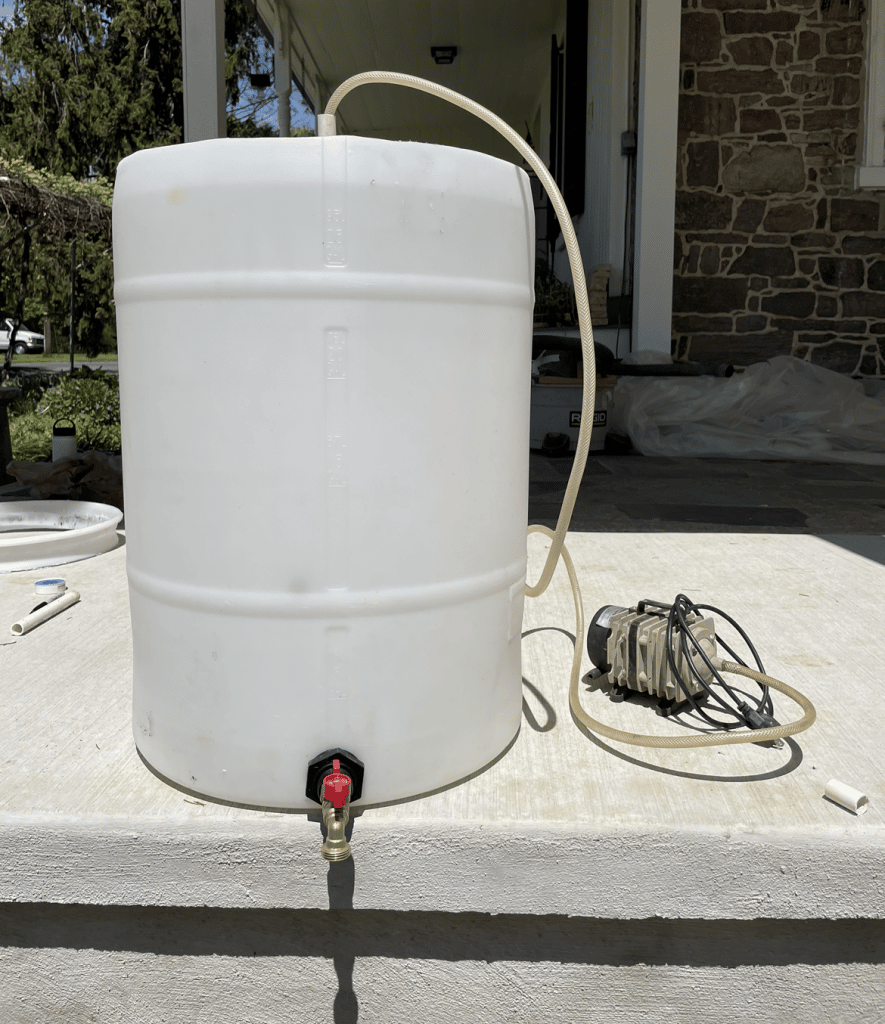
Bonus Tips: Add a Faucet & Skip the Bubbly
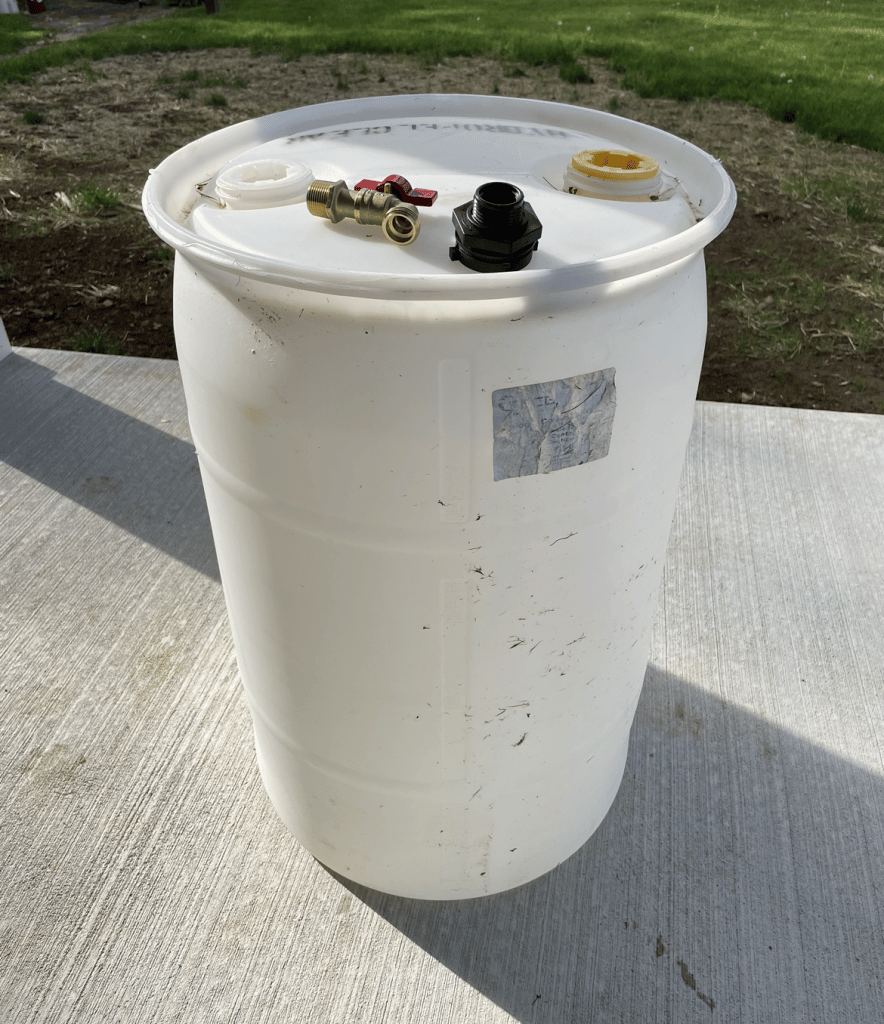
Add a Faucet
Elevating your brewer can allow for easy emptying if you can install a faucet near the base of the brewer.
Using a 1 3/8-in hole saw, drill a hole and install a 3/4 inch bulkhead to receive a faucet head. Screw a 3/4 inch garden faucet on the bulkhead fitting and you’re set. Hook a garden hose up to the faucet fitting to make filling backpack sprayers and tanks easier to handle.
Skip the Bubbly
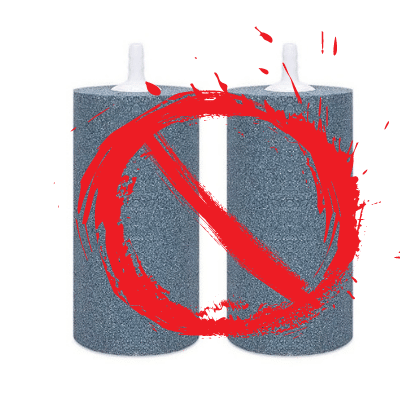
A word on air stones.
No.
Air stones disperse air through porous rock or wood, turning a few large bubbles into many tiny bubbles.
Tiny Bubbles make for a great song but they are otherwise unnecessary for a tea brewer.
Their porosity also traps bacteria and promotes biofilm which can spoil future brews.
Commercial Compost Tea Brewers
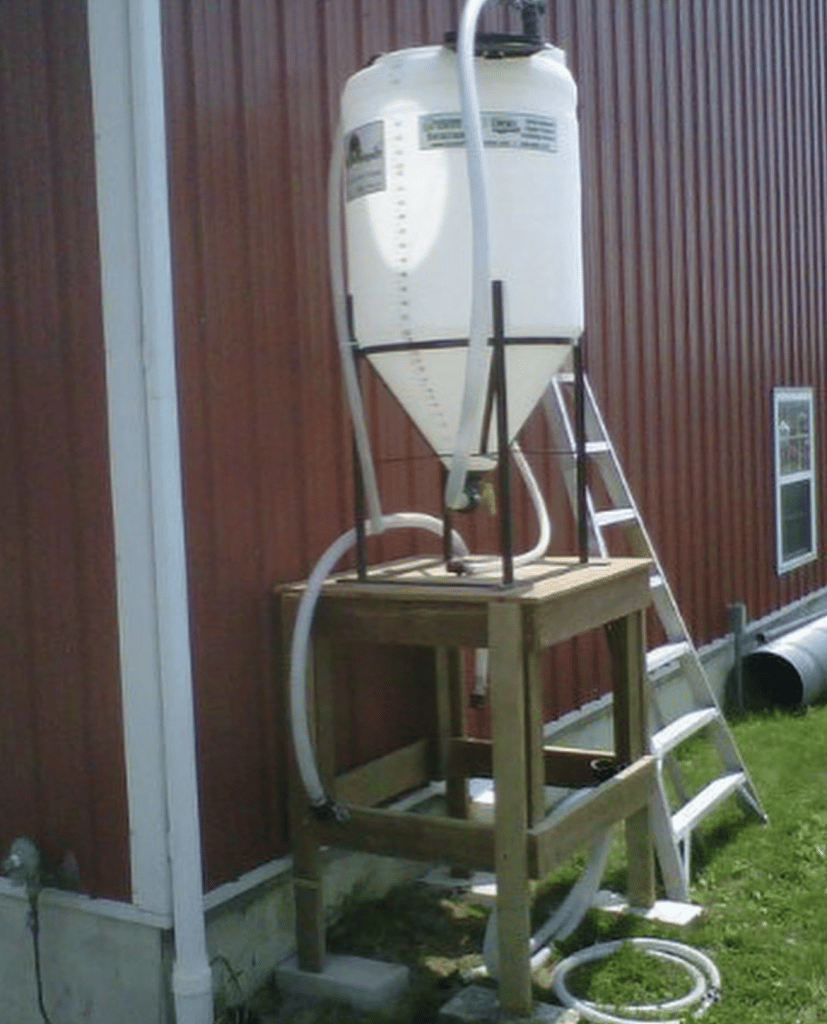
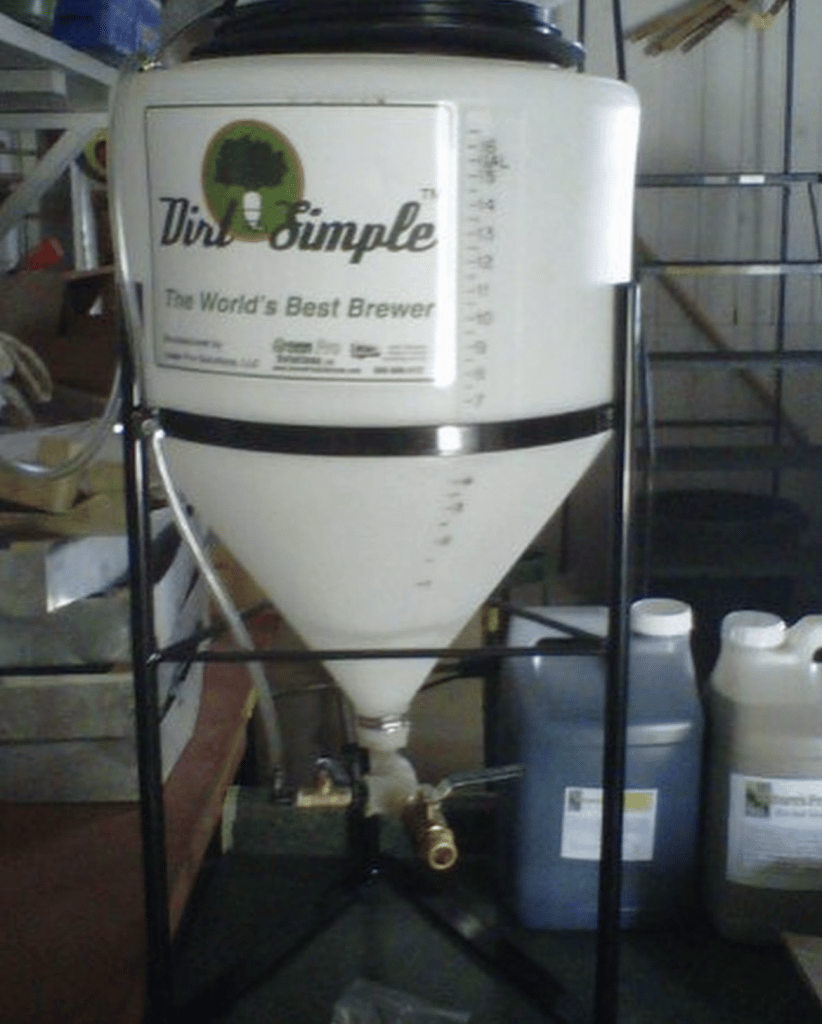
Conical Brewers
My favorite type of compost tea brewer is a conical-shaped brewer.
You can engineer these at home but the plumbing of it all takes some figuring out. The conical brewer’s advantage is that the air can be pumped in from the bottom of the unit.
The shape ensures all of the tea gets adequate airflow and agitation.
Conical tanks work great because you can use the same hose and tank opening for both intake of air and outlet of compost tea. When the brew is complete, close the valve to stop the flow of air into the tank and disconnect the air pump or blower.
To fill a spray tank or holding tank you can open the valve and use the hose to gravity-feed the compost tea into the tank. Conical compost tea brewers are available commercially and will discussed in the following paragraphs.
IBC & Vortex Brewers
People turn various things into compost tea brewers. I have a friend who turned an old stainless steel dairy tank into a compost tea brewer. But Rule #1 is that all of the liquid needs to be oxygenated and agitated.
So a cylindrical or – better yet – a conical-shaped brewer will be most advantageous to keep compost tea aerobic or above 6 ppm of dissolved oxygen.
IBC Tote Brewers
IBC totes are also popular brewer containers for both DIY and commercially-available solutions.
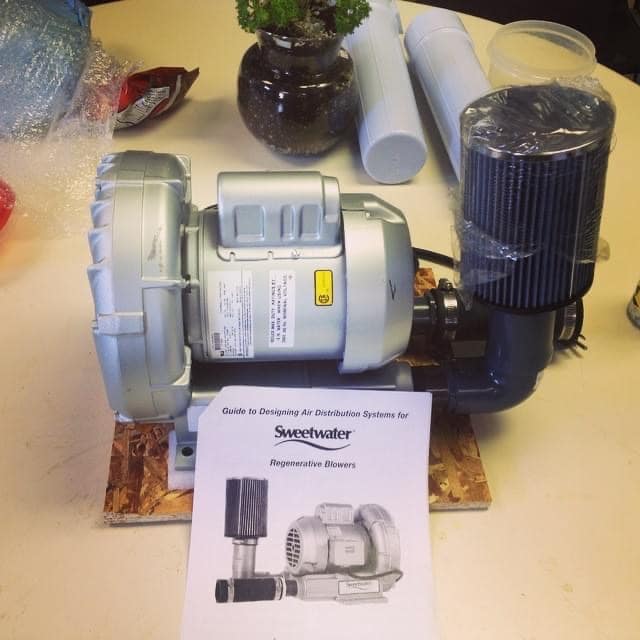
For the uninitiated, IBC totes are square, 300-gallon plastic totes enclosed in a metal cage used for transporting bulk liquids. The downside is that agitating more than 100 gallons of water requires something called a regenerative blower. (Think of a metallic bounce house blower on steroids.)
A half horsepower regenerative blower starts around $600, and a one horsepower blower will set you back close to $800.
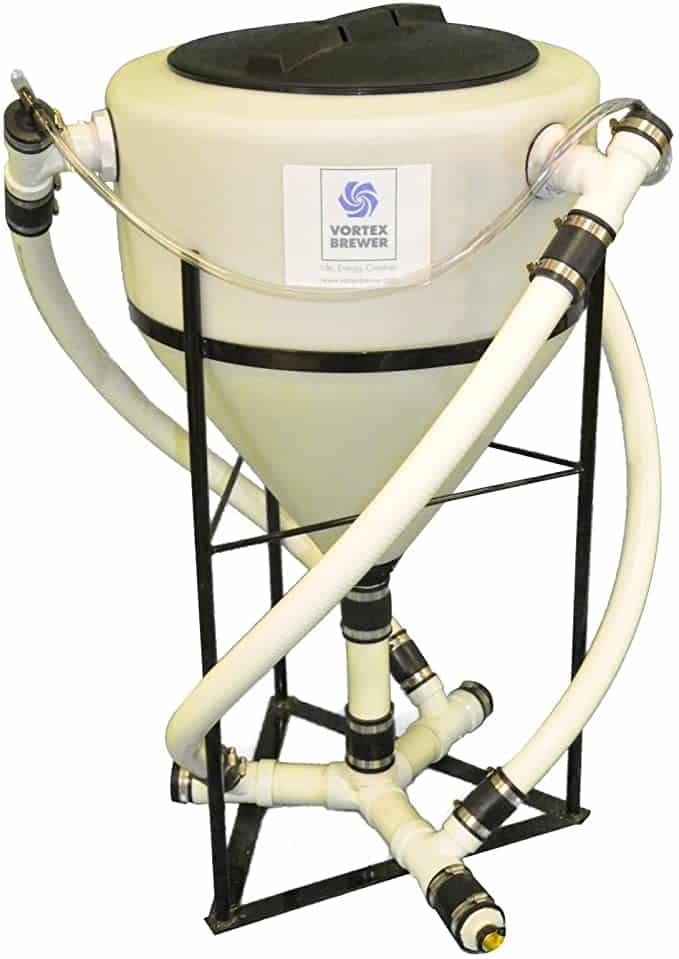
Vortex Brewers
Another popular commercial brewer design is the Vortex Brewer. I’ve fielded lots of questions about this one and I tend to recommend against it.
It’s a beautiful machine and I appreciate the concept of using a vortex to create “energized water”.
However, the additional hoses to generate the vortex create several hard-to-reach places that will make cleaning this brewer a nightmare.
That is a lot of nooks and crannies to collect and breed anaerobes that can add unwanted guests to future compost tea brews.
Commercial Brewer Recommendation: Conical Brewers
If you are going to spend the money on a commercial brewer I highly recommend getting a conical-shaped brewer. They will brew high quality compost tea, are easy to clean, and easy to use.
The cost of freight to ship anything these days is outlandish, so I suggest purchasing a brewer from a supplier that is closer to your location.
East Coast Commercial Brewers: Green Pro Solutions
On the east coast of the United States on into the Midwest you can purchase conical brewers ranging from 10 to 1000 gallons from Green Pro Solutions.
Western US Brewers: Biologic Crop Solutions
Western U.S. readers can check out Biologic Crop Solutions. They carry conical-shaped compost tea brewers from 325 gallons on up to 2500 gallons. That’s a lot of compost tea! They also have the IBC tote style brewers as well as a 55-gallon barrel brewer.
Join the Brew Crew
Whether you are a DIY kind of person or would rather purchase a compost tea brewer, making and using compost tea is the way to go. Compost tea is dirt cheap to make, easy to apply, AND is good for the environment. If you are interested in building your own brewer, brewing high biology compost tea, or for anything compost related you can reach out to set up a consultation. Check out the Urban Worm website for more details.

If you want to know if your soil is appropriate for your crop, or if you need help our help with anything else, engage our services today!


What is the difference between this, other than ease of use and beauty, and a five gallon bucket of cow poo and worm castings, covered with water? Are my bugs not thriving?
Compost tea uses compost. Manure tea uses manure. Using straight manure has the potential to breed pathogens. E. coli is one of those. Leaving anything in water to sit without air is going to breed anaerobic bacteria and potentially pathogens.
I see. Thanks for a great article! I guess it’s time to up my game!
Great article! Thank you Troy and Steve for the great information. Time to level up!
I gather gallons of worm juice, can I use this ?
The liquid coming out from a worm bin is leachate. It is a questionable liquid that should be treated like manure. It may or may not contain pathogens.
Thank you very informative.
How can I monitor for quality control and prevent toxins?
The main concern in compost tea will be anaerobes taking over. To prevent this make sure to use plenty of air pumped into the brew. Any other concern for a detrimental microorganism or pathogen would come from the compost itself. Any issue like this with compost should be prevented by the management of the compost. Putting compost through the thermophilic stage should kill pathogens. Not allowing any of the pile to become anaerobic will prevent anaerobic microbes.
Thank you! I’ll be making worm tea with castings from worms in UWBs that have been fed only frozen kitchen scraps, coffee grounds, a sprinkling of powdered egg shells and a lot of shredded cardboard, no thermophillic composting. The worm castings are odorless and pure black soil but I am uncertain of the quality or characteristics of any of it. Particularly of any vermicast that has been in buckets for a few weeks. I’m in a hi-rise apartment in Tokyo with 3 UWBs in little veranda space. I feel like I’m going through the motions with no way to verify the value of the product.
Hey!
The article leaves me wondering, would the conical set-up work with the aquarium-sized pumps of 60L/min? Or would it be better to equip the set-up with one of those regenerative blowers?
Thanks in advance!
Yes, as mentioned in the article, any brewer with larger quantities like 100 gallons or more will require a regenerative blower to provide adequate oxygen. A commercial air pump should work well for anything smaller.
My question is about aeriation, I live in Jacksonville, Florida and a worm company in Zollfo Springs, Florida states aeriation is actually detrimential due to our warm climate. Can you clear this up. Thanks
Hi Larry,
In warmer climates, you need to aerate for less time but to achieve that explosion is microbes, you still need to aerate!
Very helpful article! I’m looking at the rain barrel size section, and the pump you linked on Amazon says it’s compatible with 1/4″ hose, not 3/8″. What am I missing – is there an adapter piece I need or something like that?
Oh! Sorry. Answered my own question, was looking at the Outside Diameter instead of the Inside Diameter.
This site is so incredibly helpful – thank you!
I was planning on using two 55-gallon drums, what kind of pump could be used to run both drums?
And also, in case I have to use pumps, just wondering if variable speed pumps would work better. Thank you!
Sorry for the late reply Margaret! For pump size, you would want a flow in liters-per-minute that approximates the number fo gallons you intend to brew at a given time. For instance, if you want to brew 2 x 55-gallons at one time, a 100 liter-per-minute air pump is appropriate.
Cheers!
Steve
How do you strain the tea so it can be sprayed through tjet streaming nozzles on a 50 foot boom sprayer?
Hi Wes,
The compost with the tea/extract should have been suspended in the water in a very fine mesh bag which would reduced the particulate matter in the tea/extract. One other consideration is that extract may be a better choice because the sugary foods present in teas can cause a biofilm buildup in your nozzles.